Immunity Boosting Smoothie
 

Halloween is over, October is gone, and department stores and shopping malls will have you believing it’s already Christmas eve. Well, it’s not. What is fast approaching however, is the busiest shopping time of the year, and wherever there are large concentrations of people, there are bound to be large concentration of germs floating around too. 

Short of walking around in a hazmat suit, you may not be able to completely obliterate your chances of catching something in the next coming months, but you can help skew the odds in your favor. Enter the immunity boosting smoothie. Inspired by one of the graphic designers on our staff, it features a healthy serving of vitamins and antioxidants needed to reinforce your immunity shields. 

This immunity smoothie is broken up into three parts: greens, berries, and citrus. 

The greens category, spinach and kale, provide iron fiber, and vitamins C and K. The berries, cranberries and blackberries, contribute high levels of antioxidants, manganese and more vitamin C. Finally, oranges bring potassium, more fiber, and of course more vitamin C. And despite it not fitting neatly in either of the three categories mentioned above, we add ginger for its anti-inflammatory and disease-fighting properties. 

INGREDIENTS.jpg

What’s going inside:

  • ½ cup fresh baby spinach

  • ½ cup fresh kale

  • ¼  cup fresh/frozen blackberries

  • ¼  cup fresh/frozen cranberries

  • ⅕ cup orange juice (store-bought or freshly squeezed)

  • 1 tsp freshly grated ginger

  • 1 tbsp agave syrup or honey (optional)

  • ¼ ice (if not using frozen fruit)

INGREDIENTS_NUTRIBULLET_01.jpg

What you will need:

First, get yourself a blender. High-powered blenders work best (think Nutribullet or Vitamix), but any blender should do the job just fine when given extra blending time. Next, you can either measure out your ingredients according to our rough guidelines, or eyeball it and keep the ratios the same. This means, don’t go crazy, or stingy, with the liquids by adding 3x more or less than is recommended. Trust us, you will have a hard time getting your smoothie to properly blend. 

How to do it:

The idea behind this immunity boosting smoothie is that it should take no more than 10 minutes to put together—after all its creator chugs it down every morning before embarking on his long commute. 

Start by adding the solid ingredients in first: greens, berries and grated ginger. If you’re not using frozen fruit, go ahead and add in your ice now. Next, splash in the orange juice and drizzle in your sweetener of choice. We left ours unsweetened, but feel free to sweeten to taste. And finally, mix, blend, or pulse your way to the perfect consistency: chunk free! 

Transfer your delicious smoothie to a tall glass and enjoy with some of our Sunrise Energy Bars. Not only are they packed full of antioxidants on account of the dried cranberries added, but they’re also vegan friendly!

Like all of our recipes, we believe there is always room for flexibility. Experiment with different citrus and berries, or add completely different fruits altogether. Ultimately, we encourage you all to ditch the hazmat suits and give this smoothie a try and if you do, tell us how you like it on our Facebook or Instagram. 

We’ll see you there!

— Best Express Staff

 
Guest User
4 Ways to Dress Up Our Snacks: Halloween Edition!
 
TITLE.png

You know how our mothers always told us not to play with our food? Well, we’re here to tell you those rules don’t apply on Halloween. This season, we put together 5 frightening and EDIBLE costumes for each our our favorite snacks. Not only is this a great indoor Halloween activity for preschool and elementary school students, it's also a fabulous non-candy alternative. 

CANDY_MELTS.jpg

What you will need:

  • Candy melts (or white chocolate)

  • Food coloring

  • Frosting

  • Piping bag (or plastic bag alternative)

  • Black decorating gel

  • Edible candy eyeballs

  • Sprinkles

We picked everything up at our local art supply store, all for under $30!

FRANKENSTEIN.jpg

Frankenstein's Monster Bar

It’s alive! Or at least it appears to be ;) For this creation we melted up some green candy melts to make up our base, and spread that onto our Paleo Bars. After allowing that layer to set, we began piping on some black food gel icing for hair. (Pro tip: smooth out any lumps or bumps,  with a coffee stirrer or toothpick). Finally, we added candy eyes for some personality. Terrifying

Aussie Bites Brains

Now here is a genius idea—zombie brain cupcake art. All we used for these little morsels is food coloring and frosting. We added roughly 5-6 drops of magenta food coloring to 1 can of store-bought frosting to achieve the color shown here. To assemble, begin by piping a medium sized dollop of frosting onto each of your bites, followed by a thin line of frosting down the middle to mark the spot where the two brain hemispheres meet. Finish it up by adding squiggles to either side until the entire area is covered. Genius!  

Mummi-gy Bars

These Sunrise Energy Bar mummies are probably the easiest snack to dress up on this list. All they really are is white chocolate, candy eyes and black food gel coloring. To assemble, we began by melting down some white chocolate and poured that into a small piping bag (no piping bag? Use a large freezer bag instead). Next, we carefully snipped a small piece from the tip of the piping bag and drizzled our bars in a zig-zag, back-and-forth manner. What you don’t want in this case is perfection—aim for messy! Once we reached a level of bandage we liked, it was time to give our mummy some eyes. We used black gel icing as adhesive and plopped our two candy eyes on top. Mesmerizing!

Monster Bites

It’s time to play with some sprinkles! To get that skin crawl inducing texture on our little monsters, we first covered some coconut bites in purple frosting and then rolled the whole thing in a bowl of sprinkles. (The sprinkles used only cost us $1.99 at our local craft store, so search for those bargains people!) For the eyes we went back to our trusted candy melts and plopped one on top of each sprinkle-covered bite. We finished it off by adding black gel food icing for our little monster’s eyebrows and pupils. Creepy!

Are you dressing up your snacks this Halloween? Which of these are you excited to try? Pop over to our Instagram to let us know.


— Best Express Staff 

 
Guest User
Pumpkin Spice Latte
 

The first signs of fall usually come sprinkled in pumpkin spice everything. Pumpkin spice cookies, pumpkin spice air fresheners, pumpkin spice-pumpkin spice. But all other iterations aside, the original catalyst of the pumpkin spice craze seems to have been the good old fashioned pumpkin spice latte, so we decided to make our own. This recipe is not only plant-based, but when skipping step 5, it becomes paleo!

Follow along to make the perfect pumpkin spice latte!


What you will need:

1 oz Pumpkin Butter (or puree)*

1 oz organic maple syrup

1 oz  water

1 tsp pumpkin spice

¼ tsp ground nutmeg

½ tsp ground cinnamon

2 oz espresso (or strong coffee)

6 oz non-dairy creamer or plant based milk

BP15_008.jpg

*A note about our selected ingredients: we found this pumpkin butter at our local Trader Joe’s when looking for nut butters and spreads for a different blog post. (check it out here!) We went with this as our main pumpkin flavoring, but really any other pumpkin puree or butter will work just as well. 


How you will do it:

Step 1:

BP15_001.jpg

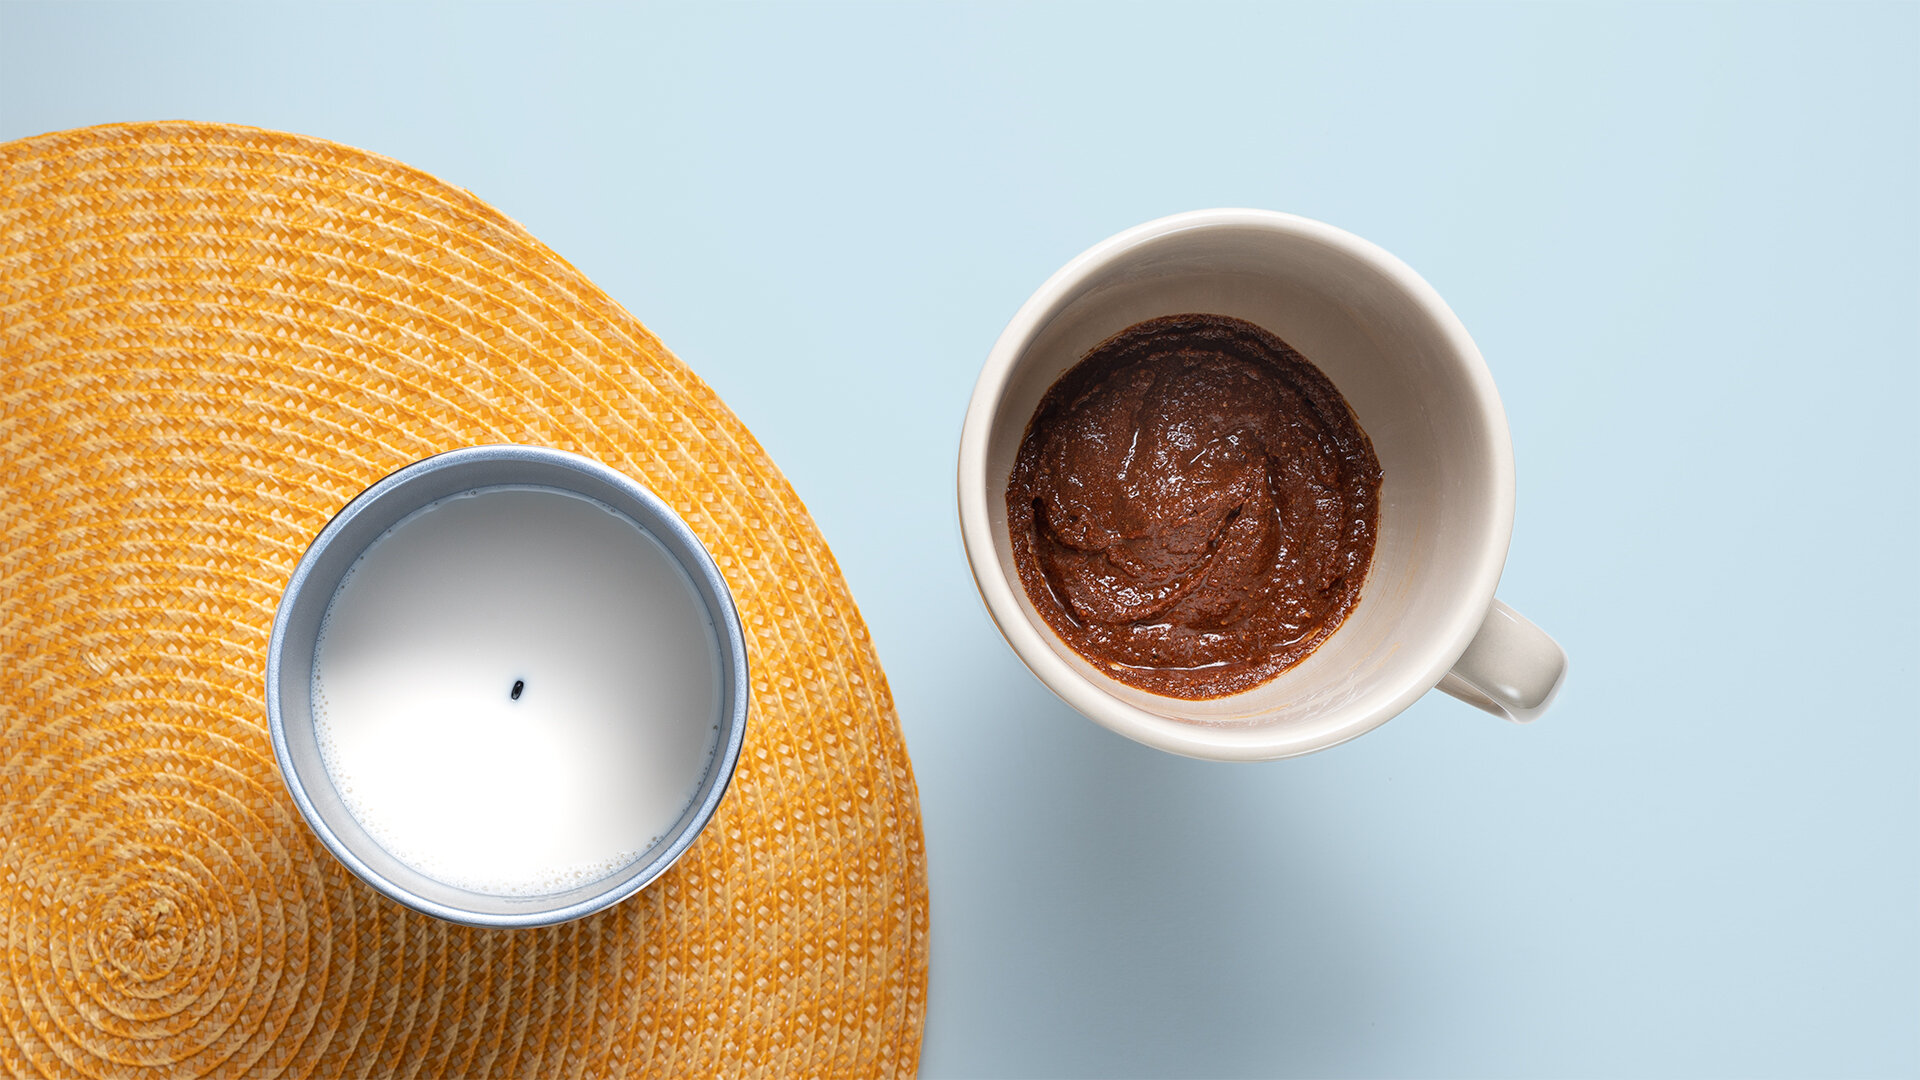
Start by adding the wet ingredients (pumpkin butter and maple syrup) to your mug. Measure out your spices and mix until a thick paste is formed. 


Step 2: 

BP15_002.jpg

Next you will begin to warm and froth your milk. There are plenty of ways to get milk to that perfect frothy, but not foamy, consistency. We used an inexpensive countertop milk frother, but an immersion blender, a whisk (electric or otherwise), and even a french press are equally great ways to get the job done. 


Step 3:

BP15_003.jpg

Add your strongly brewed coffee or espresso to your mug with the pumpkin spice paste and stir to combine. We’re aiming for a lump-free, silky texture here so stir away! At this point your milk should be ready to pour, and depending on your frothing method of choice, now is the time to transfer it into a pitcher or other vessel equipped with a spout. We used a stainless steel milk frothing pitcher but glass, ceramic, or plastic work great too. 


Step 4:

BP15_005.jpg

Give your pitcher a good stir and a couple of firm taps on your countertop to remove any excess foam or bubbling which may have formed. Make sure to pour in your milk slowly to ensure even mixing and a silky texture. Gently stir and enjoy! Top with a sprinkle of cinnamon and pumpkin spice, and finish by pairing it with one of our delicious Paleo Bars.

The “optional, but you might want to do this” Step 5:

BP15_006.jpg

Go all in and add layer upon layer of almond whipped cream. If you plan on keeping this recipe paleo, leave this step out. The artificial sweeteners in most whipped creams are a no-go when following the paleo diet, but you can always opt to make your own whipped topping at home from a plant-based milk and skip the sweetener altogether. 

Happy sipping!

— Best Express Staff

 
Guest User
Our Favorite Nut Butters & Spreads to Pair With Our Snacks
 

Every once in a while, we like to do taste-tests with our Best Express staff. It’s our way of injecting some fun into our daily work life and is a lovely excuse to munch on some of our favorite products. For this tasting, we took inspiration from a recent shot taken for our Instagram feed featuring an almond butter spread on our Paleo Bars. It got us thinking: what else could we layer onto our snacks? This question eventually led us to clear the nut butter and spread aisle shelves at our local Trader Joe’s, as we picked up everything from sunflower seed spread to cashew butter. We loved all of the spreads and nut butters we taste-tested, but some went better with our snacks than others. Below are some of our staff’s favorite combinations. Enjoy!  

Aussie Bites + Speculoos Cookie Butter

IMG_003.jpg

This stuff should really come with a warning label. Something along the lines of: “caution, one spoonful may lead to binge-eating fueled shame.” It’s good on just about everything, but when spread on top of our Aussie Bites, it’s life changing. Trader Joe’s describes it as, “a deliciously unusual spread reminiscent of gingerbread and made with crushed biscuits,” but we described it as, “oh, wow,” because both our Aussie Bites and the cookie butter live in the goldilocks zone of not too sweet, but sweet enough, the underlying flavors of each—honey and oats from the Aussie Bites, and molasses and spices from the cookie butter—go amazing together without being overwhelmingly sweet. If you love cookie butter, try it on an Aussie Bite!


Honorable mention:

IMG_005.jpg

We also loved sunflower seed spread on our Aussie Bites because of the added depth of flavor it provided. We picked up an unsweetened version, so if you’re not one for sweets, you’ll likely enjoy this duo. A quick note about the texture: this was the most runny out of all the spreads we taste-tested, so we recommend serving with a spoon.

Paleo Bars + Cashew Butter

IMG_006.jpg

If we had to choose just one word to describe cashew butter, it would definitely be creamy. The salted cashew butter we selected was rich, nutty, and equally easy to both dip into and spread. Although its flavor seemed to get lost when paired with some of our other snacks, we found that this cashew butter went amazingly well with our Paleo Bars. The slight saltiness of the cashew butter balances the honey from our Paleo Bars, allowing for the flavors of each to shine through. 

Honorable Mention:

almondSpreadv2.jpg

If you find a certain chocolate hazelnut spread too sweet, cocoa almond spread is for you. We discovered this delicious Nutella alternative when looking for a hazelnut paste or spread, and once we tried it on our Paleo Bars we knew it was a keeper. You can’t really go wrong with chocolate and almonds!

Coconut Bites + Cocoa Almond Spread

IMG_008.jpg

Chocolate Coconut Bites anyone? Yes, please! The previously mentioned cocoa almond spread was best paired with our Organic Coconut Bites. Truth be told, chocolate and coconut just go really well together, but something about this creamy spread really brought out the coconut flavor in our bites. Same goes for texture, the combination of shredded coconut and velvety smooth almond spread are a must-try!

Honorable Mention:

Coconut_sunflower.jpg

For a more toned down and overall neutral snack, try adding sunflower seed spread onto our Organic Coconut Bites. This spread tastes just like its name would suggest: sunflower seeds! Again, we chose an unsweetened version to go with our bites to keep things from getting too sweet.


Do you have a spread or nut butter favorite? Drop us a comment on Instagram and let us know! 

Looking to stock up on some of your favorite snacks? 

— Best Express Staff

 
Guest User
Perfecting the Coffee Pour-over
 
Blog post 12-v.1 Copy.png

The pumpkin spice latte may be back, and it seems to show up earlier every year, but not everyone wants a sweet and spicy latte all the time. So with national coffee day coming up, we thought the timing was right to enjoy a lovely cup of bean juice—straight-up. 

One of the easiest, and least expensive methods (no fancy machinery required) for single serve coffee is the pour-over method. It consists of literally pouring water over coffee at short intervals to brew. It can however, look more intimidating than it actually is. Contraptions like the Chemex, a coffee dripper and carafe in one which is typically made from glass, can look a lot like mad scientist work-ware. Pour-over kettles resemble watering cans for plants, (please don’t use watering cans for your pour-over coffee. Trust us, it doesn’t work!) and the majority of pour-over images found on social media carry with them an air of unattainable perfection. We’re here to tell you that none of that really matters. It’s all about just making a simple, delicious cup of coffee. 

Follow along to craft the perfect cup in under five minutes. 

Here is what you will need:

Coffee because, obviously. We used a blend from a local roaster.

A Chemex or pour-over dripper and carafe. (If your set-up does not come with a reusable filter, pick up some disposable ones as well.) And a digital scale.

A pour-over water kettle. These typically feature a thin, long spout. 


Directions:

1. Begin by boiling 350g of water

2. If using whole bean coffee, grind to a sand-like texture

3. Place the empty Chemex (or pour over dripper) and coffee filter on your digital scale and tare to ensure the marker reads 0g

4. Some coffee filters need to be pre-moistened to remove residue. If this is the case for the filters you are using, go ahead and pre-moisten and tare the scale once again.

5. Add 30g of ground coffee into the filter

6. It’s time to “bloom” the coffee. Add 30g of water to your coffee, ensuring all of the grounds are touched by the water evenly. Do this by pouring in a slow circular motion, going from outside to inside.

7. Wait roughly 45 seconds and repeat the process until your scale reads 150g (give or take). Allow the coffee to drip for another minute or so. The idea is to ensure your coffee grounds are never completely dry!

img_008.png

8. Add 100g of water in the same fashion, slow pouring to make sure all grounds are saturated, and allowing roughly 45 seconds for water to drip through the coffee grounds. Repeat until your scale reads 350g.

img_009.png

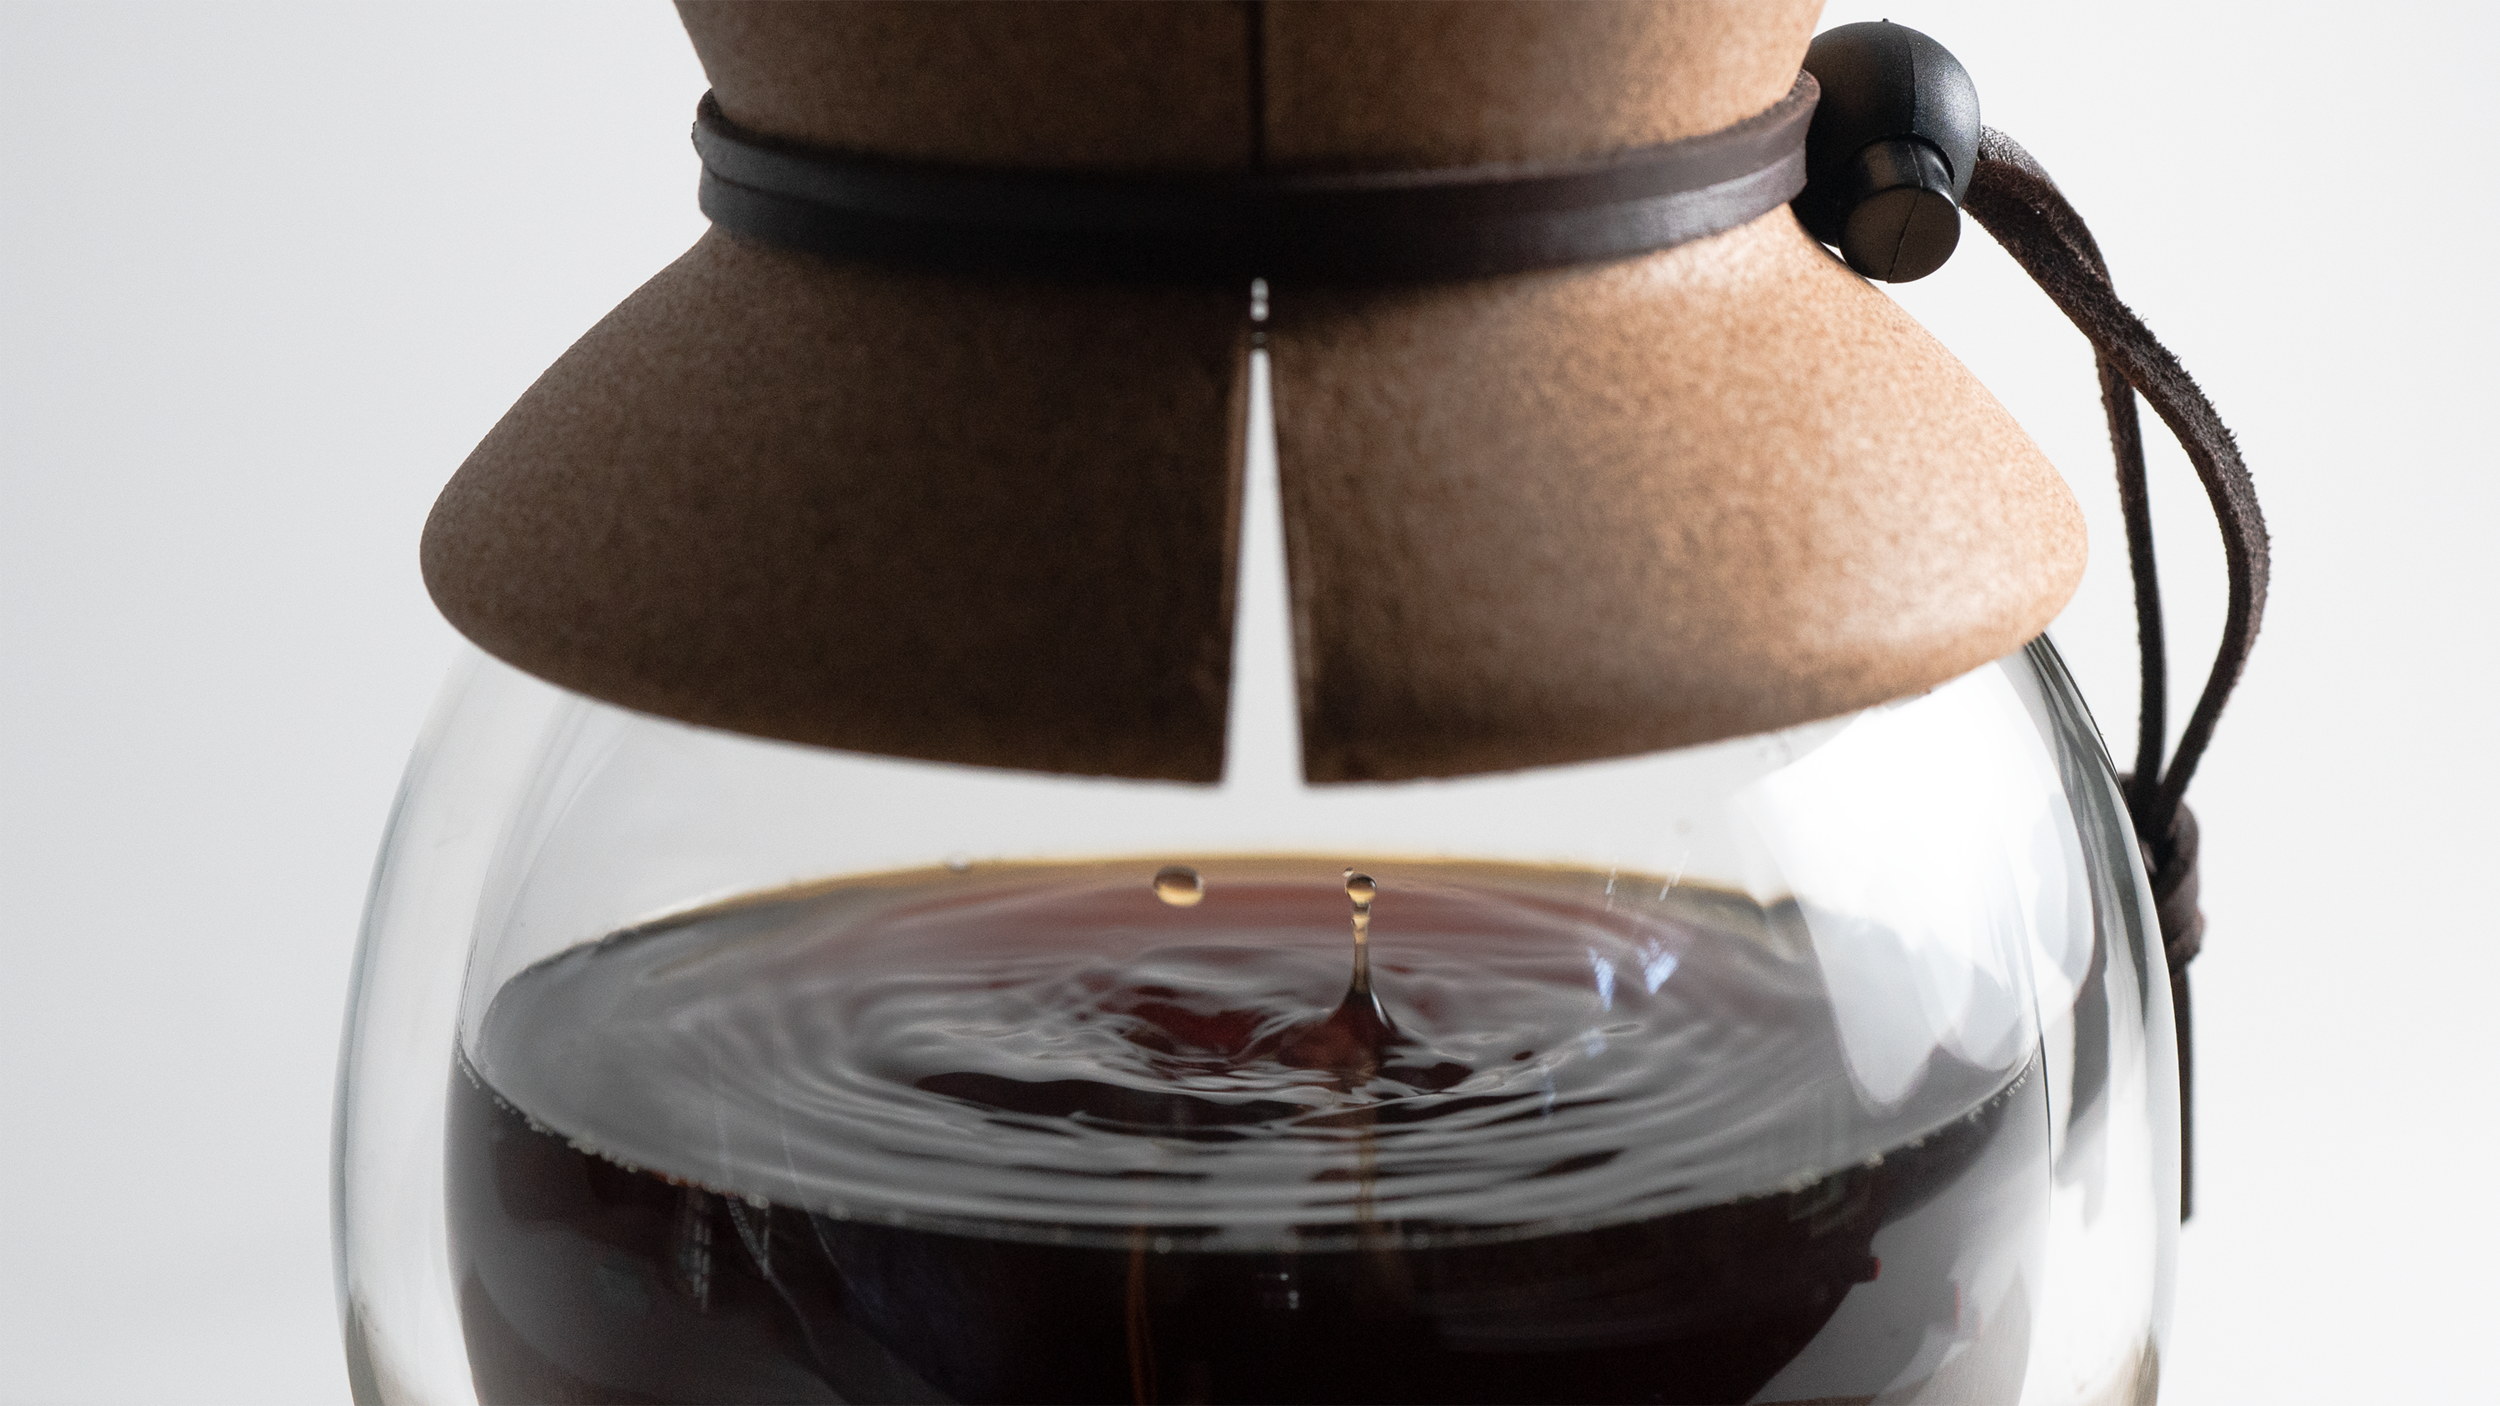
9. Wait and watch your coffee brew. Once all the water has dripped through, your coffee is ready to drink.

img_010.png

Now is the time to add cream, milk, sugar, honey, or whatever suits your fancy. We like this coffee black, perfect for dunking some of our Organic Almond Biscotti into. They’re firm enough to withstand some serious dunking, and sufficiently sweet to compliment a strong coffee brew. So drink, dunk, and enjoy. You’re now a pour-over coffee master!

— Best Express Staff

 
Guest User